Why Cleaning the Bathroom Feels Hard (And How to Make It Easier)
For many people, the bathroom is the most avoided room in the house when it comes to cleaning. Even those who keep up with daily routines often delay it, telling themselves they’ll “do it later.” This resistance usually isn’t about laziness. It’s about how the task feels before it even starts.
Bathrooms combine several mental obstacles at once. They’re small, which makes dirt feel more concentrated. They’re associated with germs, moisture, and bad smells, which creates instant discomfort. And unlike other rooms, the results don’t always feel rewarding for long. You clean today, and by tomorrow there are water spots, toothpaste marks, and hair back on the floor. That cycle makes the effort feel pointless.
Another reason bathroom cleaning feels heavy is lack of clarity. Many people don’t actually know where to start or what order makes sense. When everything looks dirty at once, the brain freezes. You may grab a random product, wipe a surface, move to another spot, then feel tired halfway through. That scattered approach turns a simple task into an exhausting one.
There’s also the pressure of “doing it right.” People worry about germs, disinfecting, mixing products, or missing something important. This creates unnecessary stress. The truth is: a bathroom doesn’t need to be hospital-level clean to be hygienic and pleasant. It needs consistency and a smart order, not perfection.
The good news is that bathroom cleaning becomes much easier once you change how you think about it.
Instead of seeing it as one big, unpleasant chore, it helps to see the bathroom as a sequence of very small, manageable actions. Each action is simple on its own. When done in the right order, they flow naturally and save time and energy. You don’t need special tools, strong chemicals, or hours of work. You need a plan that removes decision-making while you clean.
Another mindset shift that helps is letting go of the idea that every bathroom cleaning has to be “deep.” Most bathrooms only need a fast, functional clean to stay under control. Deep cleaning is occasional. What keeps a bathroom easy to manage is not intensity, but frequency and order.
It also helps to set realistic expectations. A bathroom is a high-use space. It will never stay perfect for long, and that’s normal. The goal isn’t to make it spotless forever. The goal is to make it clean enough that it feels comfortable, smells fresh, and doesn’t require extra effort next time.
When you approach bathroom cleaning with this perspective, the task becomes lighter. You stop dreading it because you know exactly what to do, how long it will take, and when it will be done. That sense of control is what turns bathroom cleaning from something stressful into something routine.
In the next sections, you’ll see how a clear order, simple supplies, and realistic timing can turn bathroom cleaning into one of the fastest and most manageable chores in your home.
What You Need Before You Start (Simple Supplies Only)
Before cleaning the bathroom, having everything ready makes a big difference. One of the main reasons people lose motivation halfway through is stopping to look for supplies. When tools are missing, the task feels longer and more frustrating than it needs to be. The goal here is simplicity, not a long shopping list.
You don’t need many products to clean a bathroom effectively. In fact, using too many products often slows you down and creates confusion. A small, basic set of supplies is enough to handle sinks, toilets, showers, mirrors, and floors without switching tools every few minutes.
Start with one all-purpose bathroom cleaner. This should be something safe for most surfaces like countertops, sinks, tubs, and tile. It doesn’t need to be strong-smelling or expensive. What matters is that it’s easy to spray and wipe.
Next, you’ll need a toilet cleaner or disinfecting product specifically for the toilet bowl. This helps you clean the toilet properly without using the same product everywhere else. Keeping this separate also reduces the mental discomfort many people feel when cleaning bathrooms.
For tools, keep it simple:
- Microfiber cloths or cleaning rags (at least two or three)
- A toilet brush
- A small scrub brush or sponge for the shower or tub
- A broom or vacuum, and a mop if your floor needs it
If you have mirrors or glass, a basic glass cleaner or a damp microfiber cloth followed by a dry one is enough. You don’t need special wipes or paper towels unless you prefer them.
It also helps to bring a small trash bag with you. Throwing away empty bottles, used wipes, or hair as you go keeps the space feeling cleaner immediately.
Finally, wear something comfortable and, if you like, rubber gloves. Gloves aren’t required, but they can make the task feel less unpleasant and more controlled.
Once everything is in one place, you remove hesitation and delay. With your supplies ready, bathroom cleaning becomes a straightforward process instead of a stop-and-start chore.
The Best Order to Clean a Bathroom Step by Step
One of the biggest mistakes people make when cleaning the bathroom is working in a random order. They clean one surface, then another, then realize they need to redo something they already cleaned. This wastes time and makes the task feel longer than it actually is. A clear, logical order is what turns bathroom cleaning into a fast and simple routine.
The best rule to remember is top to bottom, dry to wet, clean to dirty. This order prevents mess from falling onto already cleaned areas and helps products work while you move on to other tasks.
Start by clearing the space. Remove items from the sink, shower edges, and floor. Take out trash, empty bottles, and anything that doesn’t belong in the bathroom. This takes only a minute but instantly makes the room easier to clean.
Next, apply cleaning products and let them sit. Spray the sink, countertops, shower, tub, and inside the toilet bowl. Don’t start scrubbing yet. Letting products sit for a few minutes helps break down soap scum and grime, which means less effort later.
While products are working, clean mirrors and glass. These are dry tasks and don’t require heavy scrubbing. Wiping them early prevents water splashes from undoing your work.
Then move to the sink and countertops. Wipe surfaces, faucets, and handles. Since these are used daily, cleaning them early creates a visible sense of progress.
After that, clean the toilet. Scrub the bowl, then wipe the seat, lid, and outer areas. Doing this after the sink but before the floor keeps germs contained and avoids splashing onto clean surfaces.
Next, clean the shower and bathtub. Scrub walls, fixtures, and the tub or floor area. Since this is usually the messiest part, it makes sense to leave it until other surfaces are done.
Finish with the floor. Sweep or vacuum first, then mop if needed. Floors should always be last, because everything else drops dirt downward.
Following this order removes decision-making and prevents rework. Once you use the same sequence every time, bathroom cleaning becomes automatic—and much faster.
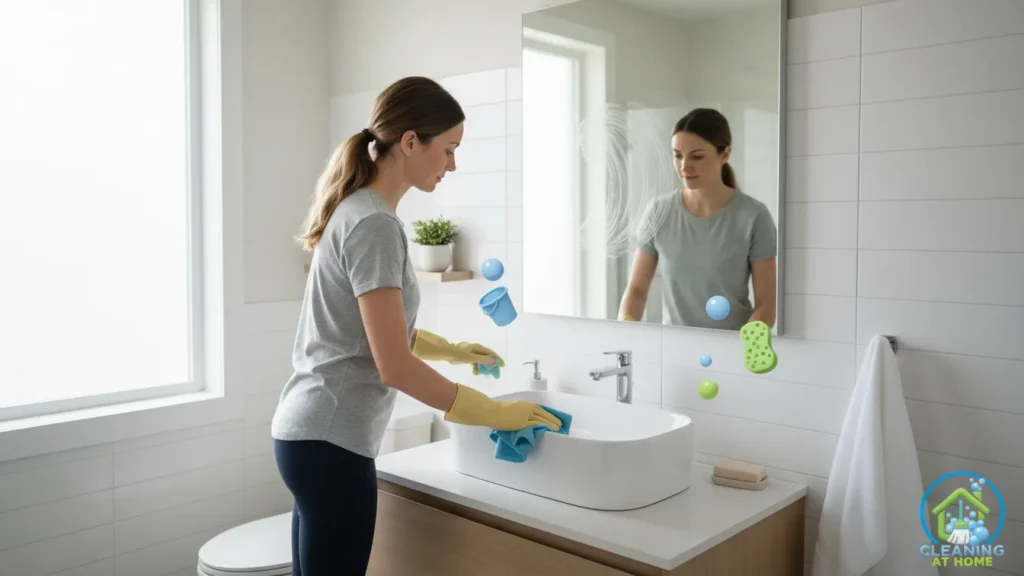
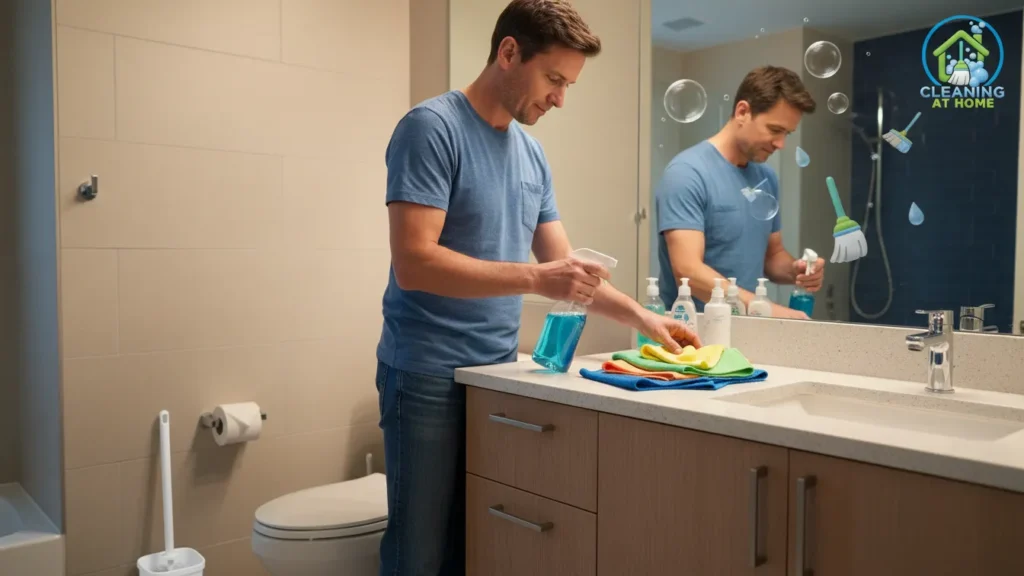
How to Clean the Bathroom Sink and Countertops Properly
The sink and countertops are some of the most used areas in the bathroom, yet they’re often cleaned too quickly or in the wrong way. Toothpaste splashes, soap residue, makeup, and water spots build up fast, making these surfaces look dirty even when the rest of the bathroom seems fine. Cleaning them properly doesn’t take long, but it does require a short, consistent process.
Start by clearing everything off the sink and counter. Remove soap dispensers, toothbrush holders, skincare items, and decorations. This step is essential because cleaning around objects leaves hidden grime behind. Once the surface is empty, you can clean it thoroughly in one pass.
Next, spray your all-purpose cleaner over the sink, countertop, and faucet. Pay attention to areas around the drain, the base of the faucet, and corners where residue tends to collect. Let the cleaner sit for a minute. This helps loosen dried toothpaste and soap so you don’t need to scrub hard.
While the product sits, wipe smaller items like soap dispensers or cups with a damp cloth. Set them aside to dry before placing them back.
Now, wipe the sink and countertop using a microfiber cloth or sponge. Start from the back and move forward, pushing residue toward the sink. For the sink bowl, wipe in circular motions, making sure to clean around the drain and overflow opening if there is one.
Don’t forget the faucet and handles. These areas are touched daily and often collect fingerprints and water spots. Wipe them carefully, including the base and any seams.
Once everything is clean, dry the surfaces with a clean cloth. Drying removes streaks and water marks and keeps the sink looking clean longer.
Finally, put items back with intention. Avoid overcrowding the counter. Fewer items mean easier cleaning next time and a cleaner look every day.
How to Clean the Toilet the Right Way (Without Spreading Germs)
Cleaning the toilet is often the part people dislike the most, mostly because of concerns about germs. When done incorrectly, it can feel messy and uncomfortable. The key to cleaning the toilet properly is using the right order and keeping toilet-specific tools separate from the rest of the bathroom.
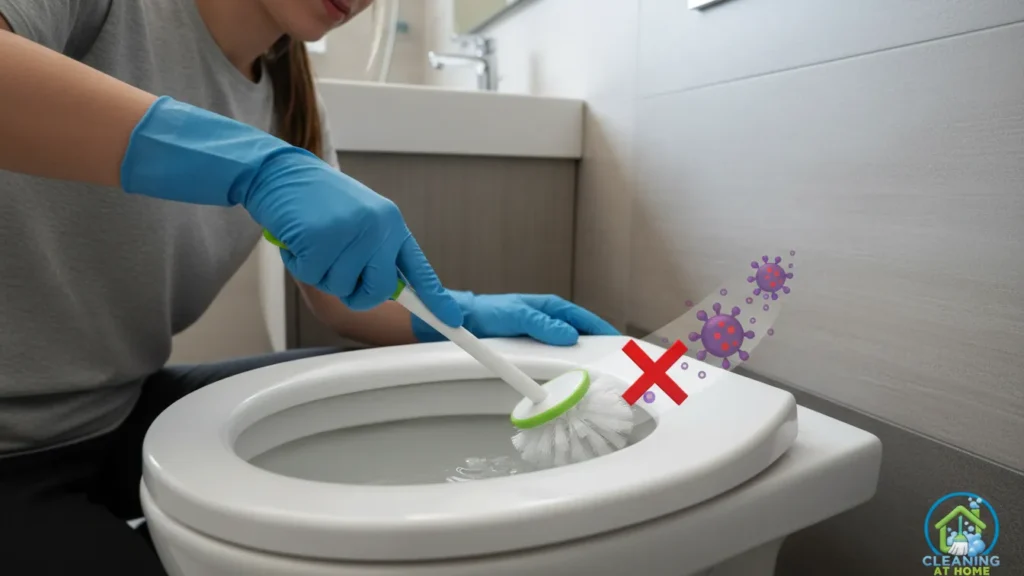
Start by applying toilet cleaner inside the bowl. Aim the product under the rim so it can flow down and coat the inside. Let it sit while you clean other parts. This waiting time helps break down stains and reduces how much scrubbing you’ll need.
Next, clean the outside of the toilet first. Using a cloth or disinfecting wipe, start with the tank, then move to the flush handle. These areas are touched often and are usually dirtier than they look. Wipe them thoroughly before moving downward.
After that, clean the seat and lid. Wipe the top of the lid, then the underside, and then both sides of the seat. Finish by wiping the hinges and edges where dust and residue collect. Always work from cleaner areas to dirtier ones.
Then move to the toilet bowl. Use the toilet brush to scrub under the rim and around the bowl, paying attention to stains or buildup. Flush while holding the brush in the water to rinse it clean. Let the brush drip dry before placing it back in its holder.
Finally, wipe the base of the toilet and the floor around it. Hair and dust tend to collect there, and this step is often skipped. Cleaning this area makes a noticeable difference in how fresh the bathroom feels.
When finished, wash your hands or change gloves before touching anything else. Keeping toilet cleaning contained prevents germs from spreading and makes the rest of the bathroom easier to maintain.
👉 Laundry Room Cleaning: What Most People Forget
How to Clean the Shower and Bathtub Fast
The shower and bathtub are usually the areas that make bathroom cleaning feel overwhelming. Soap scum, water stains, and hair build up quickly, and many people think this step will take the longest. In reality, when you clean it the right way, it can be done faster than expected.
The first rule is to work smarter, not harder. If you already sprayed cleaner earlier and let it sit, half the work is done. That waiting time softens residue so you don’t need to scrub aggressively.
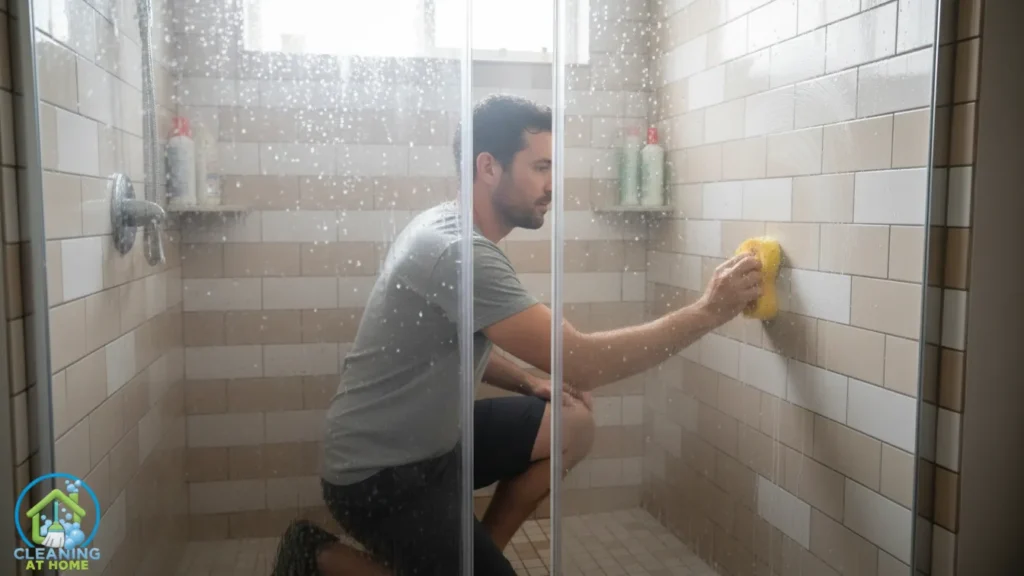
Start by rinsing the surfaces lightly if needed. This removes loose dirt and hair and helps spread the cleaner evenly. Focus first on the walls and fixtures, not the tub floor. Cleaning top to bottom prevents dirty water from dripping onto areas you’ve already finished.
Use a scrub brush or sponge to wipe the shower walls in sections. Pay attention to corners, grout lines, and around fixtures where buildup tends to collect. You don’t need perfect pressure—steady, even scrubbing is enough when the product has had time to work.
Next, move to the bathtub or shower floor. Scrub in simple back-and-forth motions, focusing on stained or slippery areas. Hair often sticks near the drain, so clear that area last and remove any buildup.
Once everything is scrubbed, rinse thoroughly. Make sure no cleaner is left behind, especially on the floor, where residue can make the surface slippery.
If you want to save time in the future, wipe down the shower quickly after use a few times a week. This small habit prevents heavy buildup and keeps full cleanings fast and manageable.
The shower and bathtub don’t need to be perfect every time. A consistent, quick clean keeps them under control and removes the stress from one of the most dreaded bathroom tasks.
How to Clean Bathroom Mirrors and Glass Without Streaks
Bathroom mirrors and glass surfaces can look dirty even after cleaning if streaks are left behind. Water spots, toothpaste spray, and fingerprints show up easily under bathroom lighting, which is why this step needs a simple but intentional approach. The goal is clarity, not constant re-cleaning.
Start by using the right cloth. A clean microfiber cloth works best because it doesn’t leave lint behind. If you don’t have one, use a soft, clean cotton cloth. Avoid paper towels, which often cause streaks and fibers on glass.
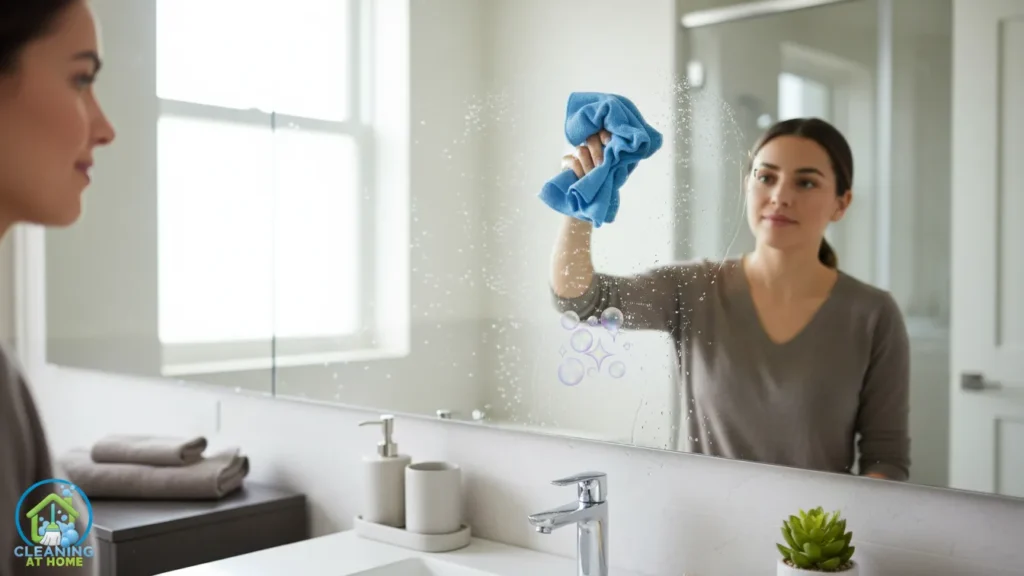
Lightly spray glass cleaner onto the cloth, not directly onto the mirror. This prevents excess liquid from dripping behind the mirror edges or onto the sink. If you prefer not to use a glass cleaner, a slightly damp cloth followed by a dry one works just as well.
Wipe the mirror using consistent, overlapping motions. You can move side to side or in gentle vertical strokes, but stay consistent across the surface. This helps you see where you’ve already cleaned and avoids missed spots.
Pay attention to edges and corners, where residue often builds up. These areas are commonly overlooked and are usually the reason mirrors still look cloudy after cleaning.
Once the mirror is wiped, buff it dry with a second clean, dry cloth. This final step removes any remaining moisture and eliminates streaks completely.
For shower doors or glass panels, follow the same process. If water spots are heavy, wipe them first with a damp cloth before applying cleaner.
A quick wipe of mirrors once or twice a week keeps them clear and prevents buildup. When glass is cleaned correctly, it instantly makes the entire bathroom look brighter and more polished.
👉 How to Clean Entryway and Hallways
How to Clean Bathroom Floors Without Extra Work
Bathroom floors tend to collect more dirt than we realize. Hair, dust, lint, and water splashes build up quickly, especially around the toilet, sink, and shower. Many people make this step harder than it needs to be by skipping straight to mopping or using too much water. A simple, consistent approach saves time and effort.
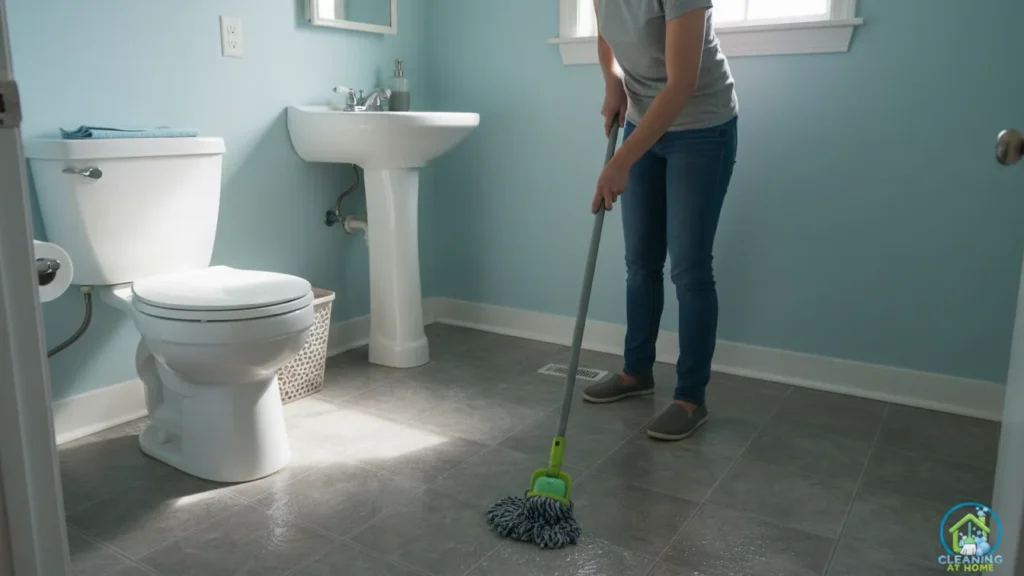
Start by dry cleaning the floor first. Sweep or vacuum to remove hair and loose dirt. This step is essential. If you mop without doing this, you’ll just push debris around instead of removing it. Pay close attention to corners, behind the toilet, and along baseboards where dust collects.
Once the floor is clear, use only a lightly damp mop. Bathroom floors don’t need to be soaked. Too much water can leave streaks, damage certain flooring materials, and make the room take longer to dry. A small amount of cleaner mixed with warm water is enough.
Mop in small sections, working your way out of the bathroom so you don’t trap yourself inside. Use smooth, controlled motions rather than scrubbing aggressively. Most bathroom floors don’t need heavy pressure unless there’s visible grime.
For areas around the toilet and sink, slow down slightly. These spots get the most use and splashes, so a second pass may be needed. If the mop can’t reach tight spaces, use a cloth to wipe them by hand.
After mopping, let the floor air dry. Keep the door open if possible to improve airflow. Avoid stepping on the floor until it’s completely dry to prevent footprints and streaks.
Cleaning the floor last ties the entire bathroom together. When done correctly, it’s a quick final step—not a tiring one—and it leaves the room feeling truly finished.
What to Do With Towels, Mats, and Bathroom Fabrics
Bathroom fabrics are easy to ignore during cleaning, but they play a big role in how clean and fresh the space feels. Towels, bath mats, and fabric shower curtains absorb moisture every day, which makes them more likely to hold odors and bacteria if they’re not handled regularly. The good news is that managing them is simple once you build it into your routine.
Start by removing all used towels and mats before or during your bathroom clean. Even if they don’t look dirty, they’ve been exposed to moisture and should be washed regularly. Leaving them in place while cleaning the bathroom often traps odors and makes the room feel less clean afterward.
Bath towels should be washed every few uses, depending on how often the bathroom is used and how well towels dry between uses. Hand towels usually need more frequent washing because they’re used multiple times a day. Always let towels dry fully between uses to reduce smells and mildew.
For bath mats, check the material. Most fabric mats can be machine washed once a week or every other week. Rubber-backed mats may need air drying to prevent damage. If a mat stays damp or smells musty, it’s time to wash it—no matter how recently it was cleaned.
If you have a fabric shower curtain or liner, wash it periodically as well. Many can be cleaned in the washing machine on a gentle cycle. Let it dry completely before putting it back to avoid mold buildup.
Once fabrics are clean, store them properly. Avoid piling towels in damp areas. Hanging them with space for air circulation helps them stay fresh longer.
Handling bathroom fabrics as part of your cleaning routine prevents odors, reduces moisture problems, and keeps the entire bathroom feeling cleaner for longer—without adding much extra work.
Small Bathroom Details Most People Forget to Clean
Even when the bathroom looks clean at first glance, small overlooked details can make the space feel less fresh over time. These areas don’t usually stand out individually, but together they affect how clean the bathroom smells, feels, and functions. Paying attention to them adds only a few minutes to your routine and makes a noticeable difference.
One commonly forgotten area is light switches and door handles. These are touched daily, often with wet or dirty hands, yet rarely wiped. A quick pass with a damp cloth or disinfecting wipe removes fingerprints and buildup easily.
Another missed spot is the base of fixtures, especially around the sink faucet and toilet base. Water drips and dust settle here, creating a dull ring that slowly gets worse if ignored.
Vent covers and exhaust fans also collect dust over time. This buildup can reduce airflow and contribute to lingering moisture. Wiping the cover with a dry or slightly damp cloth keeps air moving properly and helps prevent odors.
Look at cabinet handles, drawer pulls, and shelf edges. These areas are touched frequently but rarely cleaned. A quick wipe keeps them looking new and prevents grime from building up.
Don’t forget behind the toilet and under the sink. These areas often collect dust, hair, and small debris. Even cleaning them occasionally makes the entire bathroom feel more complete.
Finally, check bottles, containers, and décor. Sticky residue often forms at the bottom of soap dispensers and product bottles. Wiping them before placing them back keeps surfaces cleaner longer.
Cleaning these small details turns a basic bathroom clean into a truly finished one—without much extra effort.
How Long a Bathroom Cleaning Should Really Take
One of the main reasons people avoid cleaning the bathroom is the belief that it will take a long time. Many imagine it as a one-hour task or longer, which makes it easy to postpone. In reality, most bathroom cleanings take far less time than expected—especially when you follow a clear order.
For a regular maintenance clean, a bathroom can usually be cleaned in 15 to 25 minutes. This includes wiping surfaces, cleaning the toilet, quick scrubbing of the shower or tub, and finishing the floor. When cleaning is done consistently, dirt never builds up enough to slow you down.
A deeper bathroom clean may take 30 to 45 minutes, depending on the size of the bathroom and how long it’s been since the last thorough cleaning. This is when you spend extra time on grout, heavy soap scum, or neglected areas. The key is that deep cleaning should be occasional, not every time.
The biggest factor that affects cleaning time is how often the bathroom is cleaned, not how big it is. A small bathroom that’s ignored for weeks can take longer than a larger bathroom that’s cleaned regularly.
Another important factor is preparation. When supplies are ready and you follow the same order each time, you eliminate wasted minutes deciding what to do next. This alone can cut cleaning time in half.
It also helps to set a time limit before you start. Telling yourself, “I’ll clean the bathroom for 20 minutes” makes the task feel contained and manageable. Most people are surprised to finish before the timer ends.
Understanding how long bathroom cleaning really takes removes mental resistance. When you know it won’t take much time, it becomes easier to fit into your routine—and easier to keep up with consistently.
How to Keep Your Bathroom Clean Longer After You Finish
Once the bathroom is clean, the last thing you want is for it to feel dirty again after just a day or two. Keeping it clean longer doesn’t require more deep cleaning—it requires a few small habits that prevent mess from building up in the first place.
The most effective habit is quick daily maintenance. This doesn’t mean cleaning the entire bathroom every day. It means wiping the sink after brushing your teeth, rinsing the shower floor quickly, or hanging towels properly so they dry faster. These actions take seconds but prevent visible buildup.
Another helpful habit is resetting the bathroom each night. Before going to bed, take one minute to put items back in place, throw away trash, and straighten towels. Waking up to a tidy bathroom makes it easier to keep it clean during the day.
Managing moisture is also essential. Ventilate the bathroom after showers by turning on the fan or opening a window. Less moisture means less mildew, fewer odors, and slower buildup on surfaces.
Keep cleaning supplies accessible. When products and cloths are nearby, it’s easier to handle small messes immediately instead of waiting for the next full clean.
Finally, accept that bathrooms are meant to be used. Perfection isn’t realistic. A bathroom that’s cleaned regularly and maintained lightly will always feel easier to manage than one that’s cleaned intensely but rarely.
By combining a clear cleaning routine with simple daily habits, your bathroom stays fresh longer—and future cleanings become faster, easier, and far less stressful.